Local Kubernetes development with LXD
Running Kubernetes locally has obvious development advantages, such as lower cost and faster iteration than constantly deploying and tearing down clusters on a public cloud. Ideally, a Kubernetes developer can spawn all necessary nodes inside local containers and test new configurations as they are committed. This page will show you how to deploy a cluster to LXD containers on a local machine.
Before you begin
Install conjure-up, a tool for deploying big software.
Add the current user to the lxd user group.
sudo snap install conjure-up --classic
sudo usermod -a -G lxd $(whoami)
Note: If conjure-up asks you to “Setup an ipv6 subnet” with LXD, answer NO. ipv6 with Juju/LXD is currently unsupported.
Deploying Kubernetes
Start the deployment with:
conjure-up kubernetes
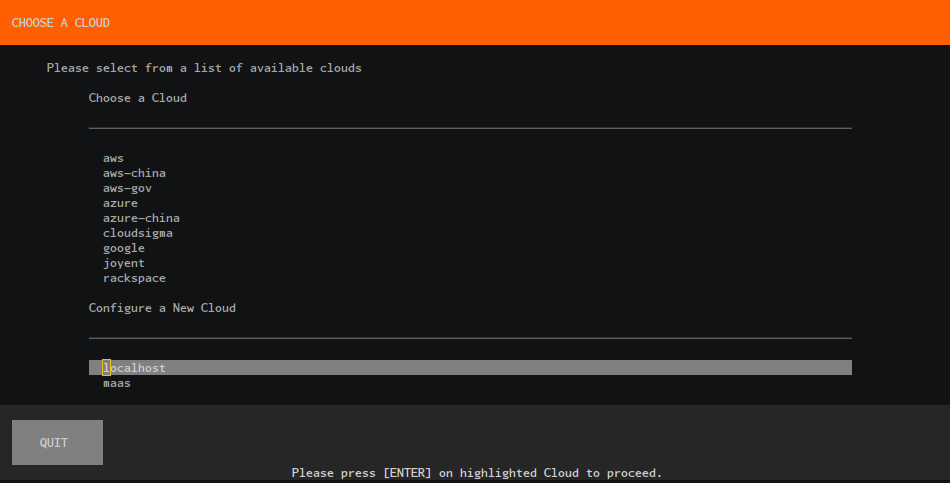
For this walkthrough we are going to create a new controller - select the localhost Cloud type:
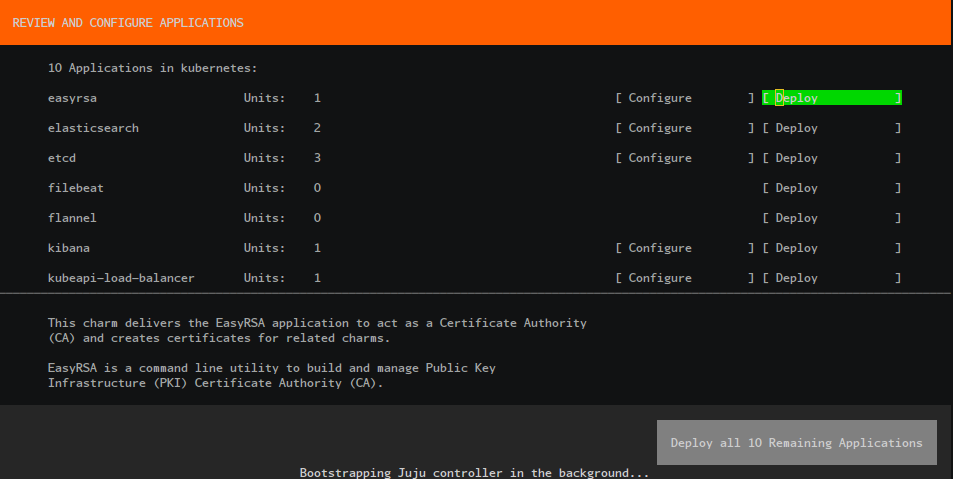
Deploy the applications:
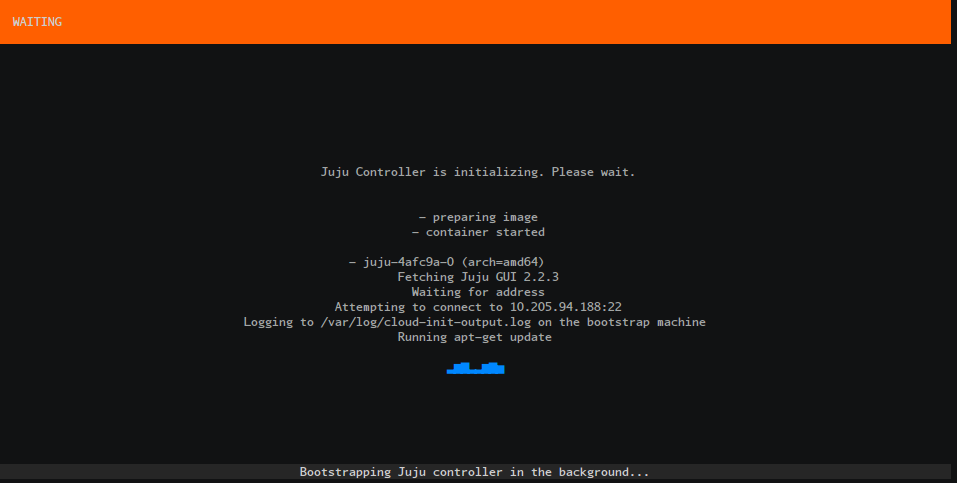
Wait for Juju bootstrap to finish:
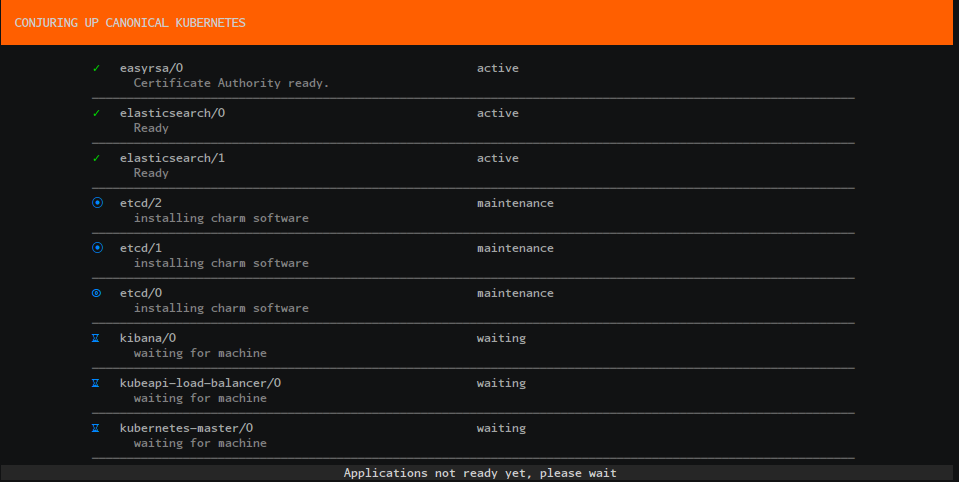
Wait for our Applications to be fully deployed:
Run the final post-processing steps to automatically configure your Kubernetes environment:
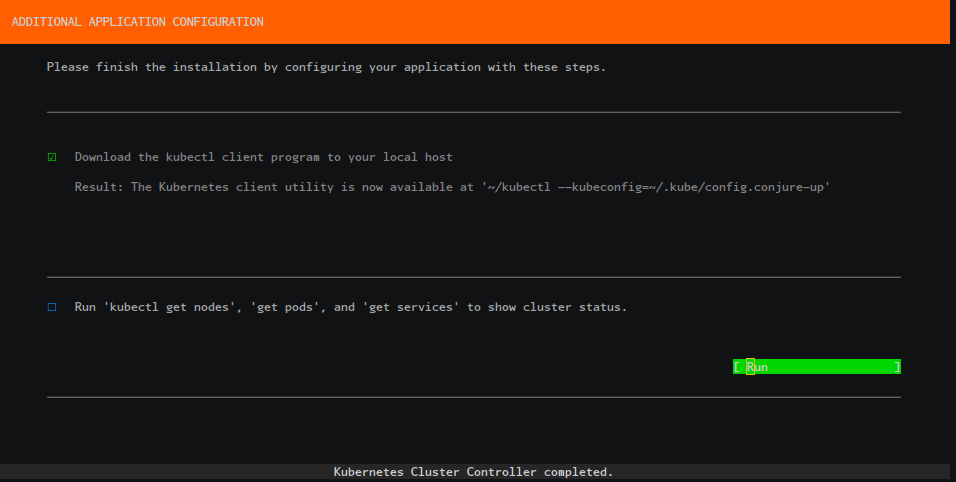
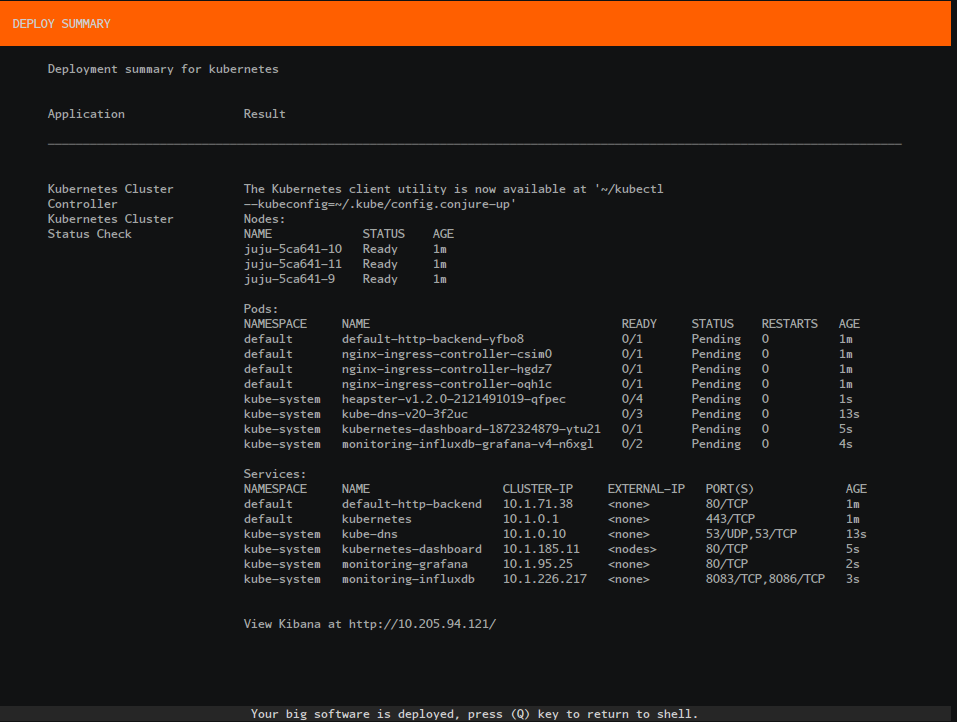
Review the final summary screen:
Accessing the Cluster
You can access your Kubernetes cluster by running the following:
kubectl --kubeconfig=~/.kube/config
Or if you’ve already run this once it’ll create a new config file as shown in the summary screen.
kubectl --kubeconfig=~/.kube/config.conjure-up
The purpose of using LXD on a local machine is to emulate the same deployment that a user would use in a cloud or bare metal. Each node is treated as a machine, with the same characteristics as production. Each node is a separate container, which runs Docker containers and kubectl inside (see Cluster Intro for more info).